
It’s not all finished, but it is finished enough that I can run trains! Here’s a short clip of two trains going through the station area from opposite directions. There’s a Class 37 and a Class 411 EMU. Enjoy.
Recent searches
Search options

#OOScale
0 posts0 participants0 posts today
It’s getting there. Most of the track on the left is just test fitted at the moment. By the end of Monday I hope to have all the track installed, decouplers temporarily wired up and working, and maybe enough wiring to run a train. At the moment if you stick your head under the baseboards there are a LOT of unconnected cables just hanging there…

A couple of photos of the chaos that is the model railway right now. All the pointwork on the left is permanently installed, two of the longer curves are not yet glued down, and I’ve started advancing across the centre of the baseboards which is where the station will be.
Tomorrow I’ll be installing three electromagnetic uncouplers, then more track bed, and then track.


Another model railway update - this afternoon I constructed the final baseboard for what I’m calling “Phase 1” of the layout.
It’s an awkward shape and I took my time to get all the angles just right. Everything was dry fitted and adjusted until the fit was good enough. Then screwed and glued.
My woodwork teacher, Mr Ward, would have been very impressed. That is to say he would have given me 7/10 and said something like “Haigh, you’d be a threat to carpenters everywhere if you took more time. And I don’t like all these butt joints”.


Ordered two more Accurascale Mk1 brake 3rd coaches so that my four carriage rakes will become five carriage rakes with one at each end…
Another round of trial fitting of all the rear baseboards now that the left rear corner board is permanently installed. You can get an idea of the absolute chaos in the room with this wide-ish angle photo.
The board that isn’t in place on the left needs some small adjustments now that the corner board next to it is 2cm further forward than the others. There will also be a step in the backscene boards where these two boards meet that I will do my best to disguise with scenery.

I’ve today off so naturally I’m trial firing the remaining track on the second reverse loop before I take out the corner board for one last time to fit the backscenes to the back and side of that board.
 tracks running down a gradient towards the second return loop.")

Today I learnt that Kadee #19 couplings are not long enough at 10.7mm for Accurascale Mk1 coaches where the NEM pockets are recessed quite a long way back compared to most other rolling stock I own. They couple up - just - but the buffers are almost touching and a rake of them won’t go around a 500mm radius curve (the tightest on my layout).
So I’ve ordered some #20 couplings (11.7mm) which I’m hoping will add enough length to give enough clearance. If not they’ll get used elsewhere and I’ll use magnetic couplings between the coaches instead, with a Kadee on each end of the rake.
All the other rolling stock I’ve added Kadees to have been fine. Most locos need #19 while everything else is fine with #18 (8.6mm), even the Syphon Gs which I thought would need #19.
A quick #ModelRailway update. Today I mastered the Digitrax hardware - got the LocoNet cables completed and tested, and the device ids all sorted out so now all the track blocks are predictably numbered. Also got everything hooked up and working on the second reverse loop.
Finally I broke out the windows laptop to program the newly installed points controller, and fixed some small issues with the configuration of one of the others.
Also worked out how to use JMRI’s LocoNet monitoring window to help verify that configuration changes were sticking.
Nothing really to see, hence no pictures today, but a good step forward.
More model railway progress to report. The inclines are in! I had to bring the corner board forward about 3cm to be sure there is enough clearance to the ceiling at the back but otherwise everything is good. The incline you can see at the front is the 3% rising incline from the reverse loop, the back one is 4% as it’s the one the trains will only ever go down.


Just taken some pics to post a progress update from last night.
Progress since the last update:
- LED tape lighting now installed for the storage sidings (Innr smart flex 4m, Zigbee controlled)
- second return loop decking has had final fitting (but screws will be moved to go in from the bottom where the foam inclines will be fitted so that they are accessible for removable if needed)
- some setrack put down on the return loop to verify fit before laying cork track bed.
Next step is to dry fit the two foam inclines , check clearances and make the necessary adjustments.


Erm, so, ah, yes. Well this arrived today. Got it weathered too. It was highly recommended by the World of Railways channel on YouTube. Said it was the best runner he’d ever bought. Just need a decoder for it now.


More model railway progress!! The corner board is just about installed - some small things left to complete but otherwise it’s all looking good - the board is level, fits perfectly with room for the backscene on the left and at the back, and bolted firmly to the other boards.
Next step is to install the backscene boards with the backscene attached, take all the other upper boards out, and install the reverse loop along the back.


I have been building railway baseboards from scratch today. The results are… good enough that I’ll probably not buy any more. The ones I need right now are all odd sizes so I was never going to pay for custom ones anyway.
So far:
- 600x450 built, legs cut and fitted (image 2)
- 550x400 built, including incline towards the reverse loop behind the backscene, legs cut but not fitted (image 1).
These boards are importantly as they complete the rear run of baseboards and turn the corner. They link into a hidden reverse loop which can’t be built until these boards are in place, and the incline to the upper station.
Both baseboards need sanding to their exact dimensions, and the backscene boards cutting and fitting. Then I can bolt them into position.
The final picture shows their arrangement on the layout, the bottom left corner is the left rear corner of the overall layout.
PROGRESS!!!


Having tried a wider variety of locos on the helix I’ve discovered that the longer wheelbase steam engines (like my Bachmann V2) can jump off at the joins between pieces of flexitrack where the track spacing isn’t quite right.
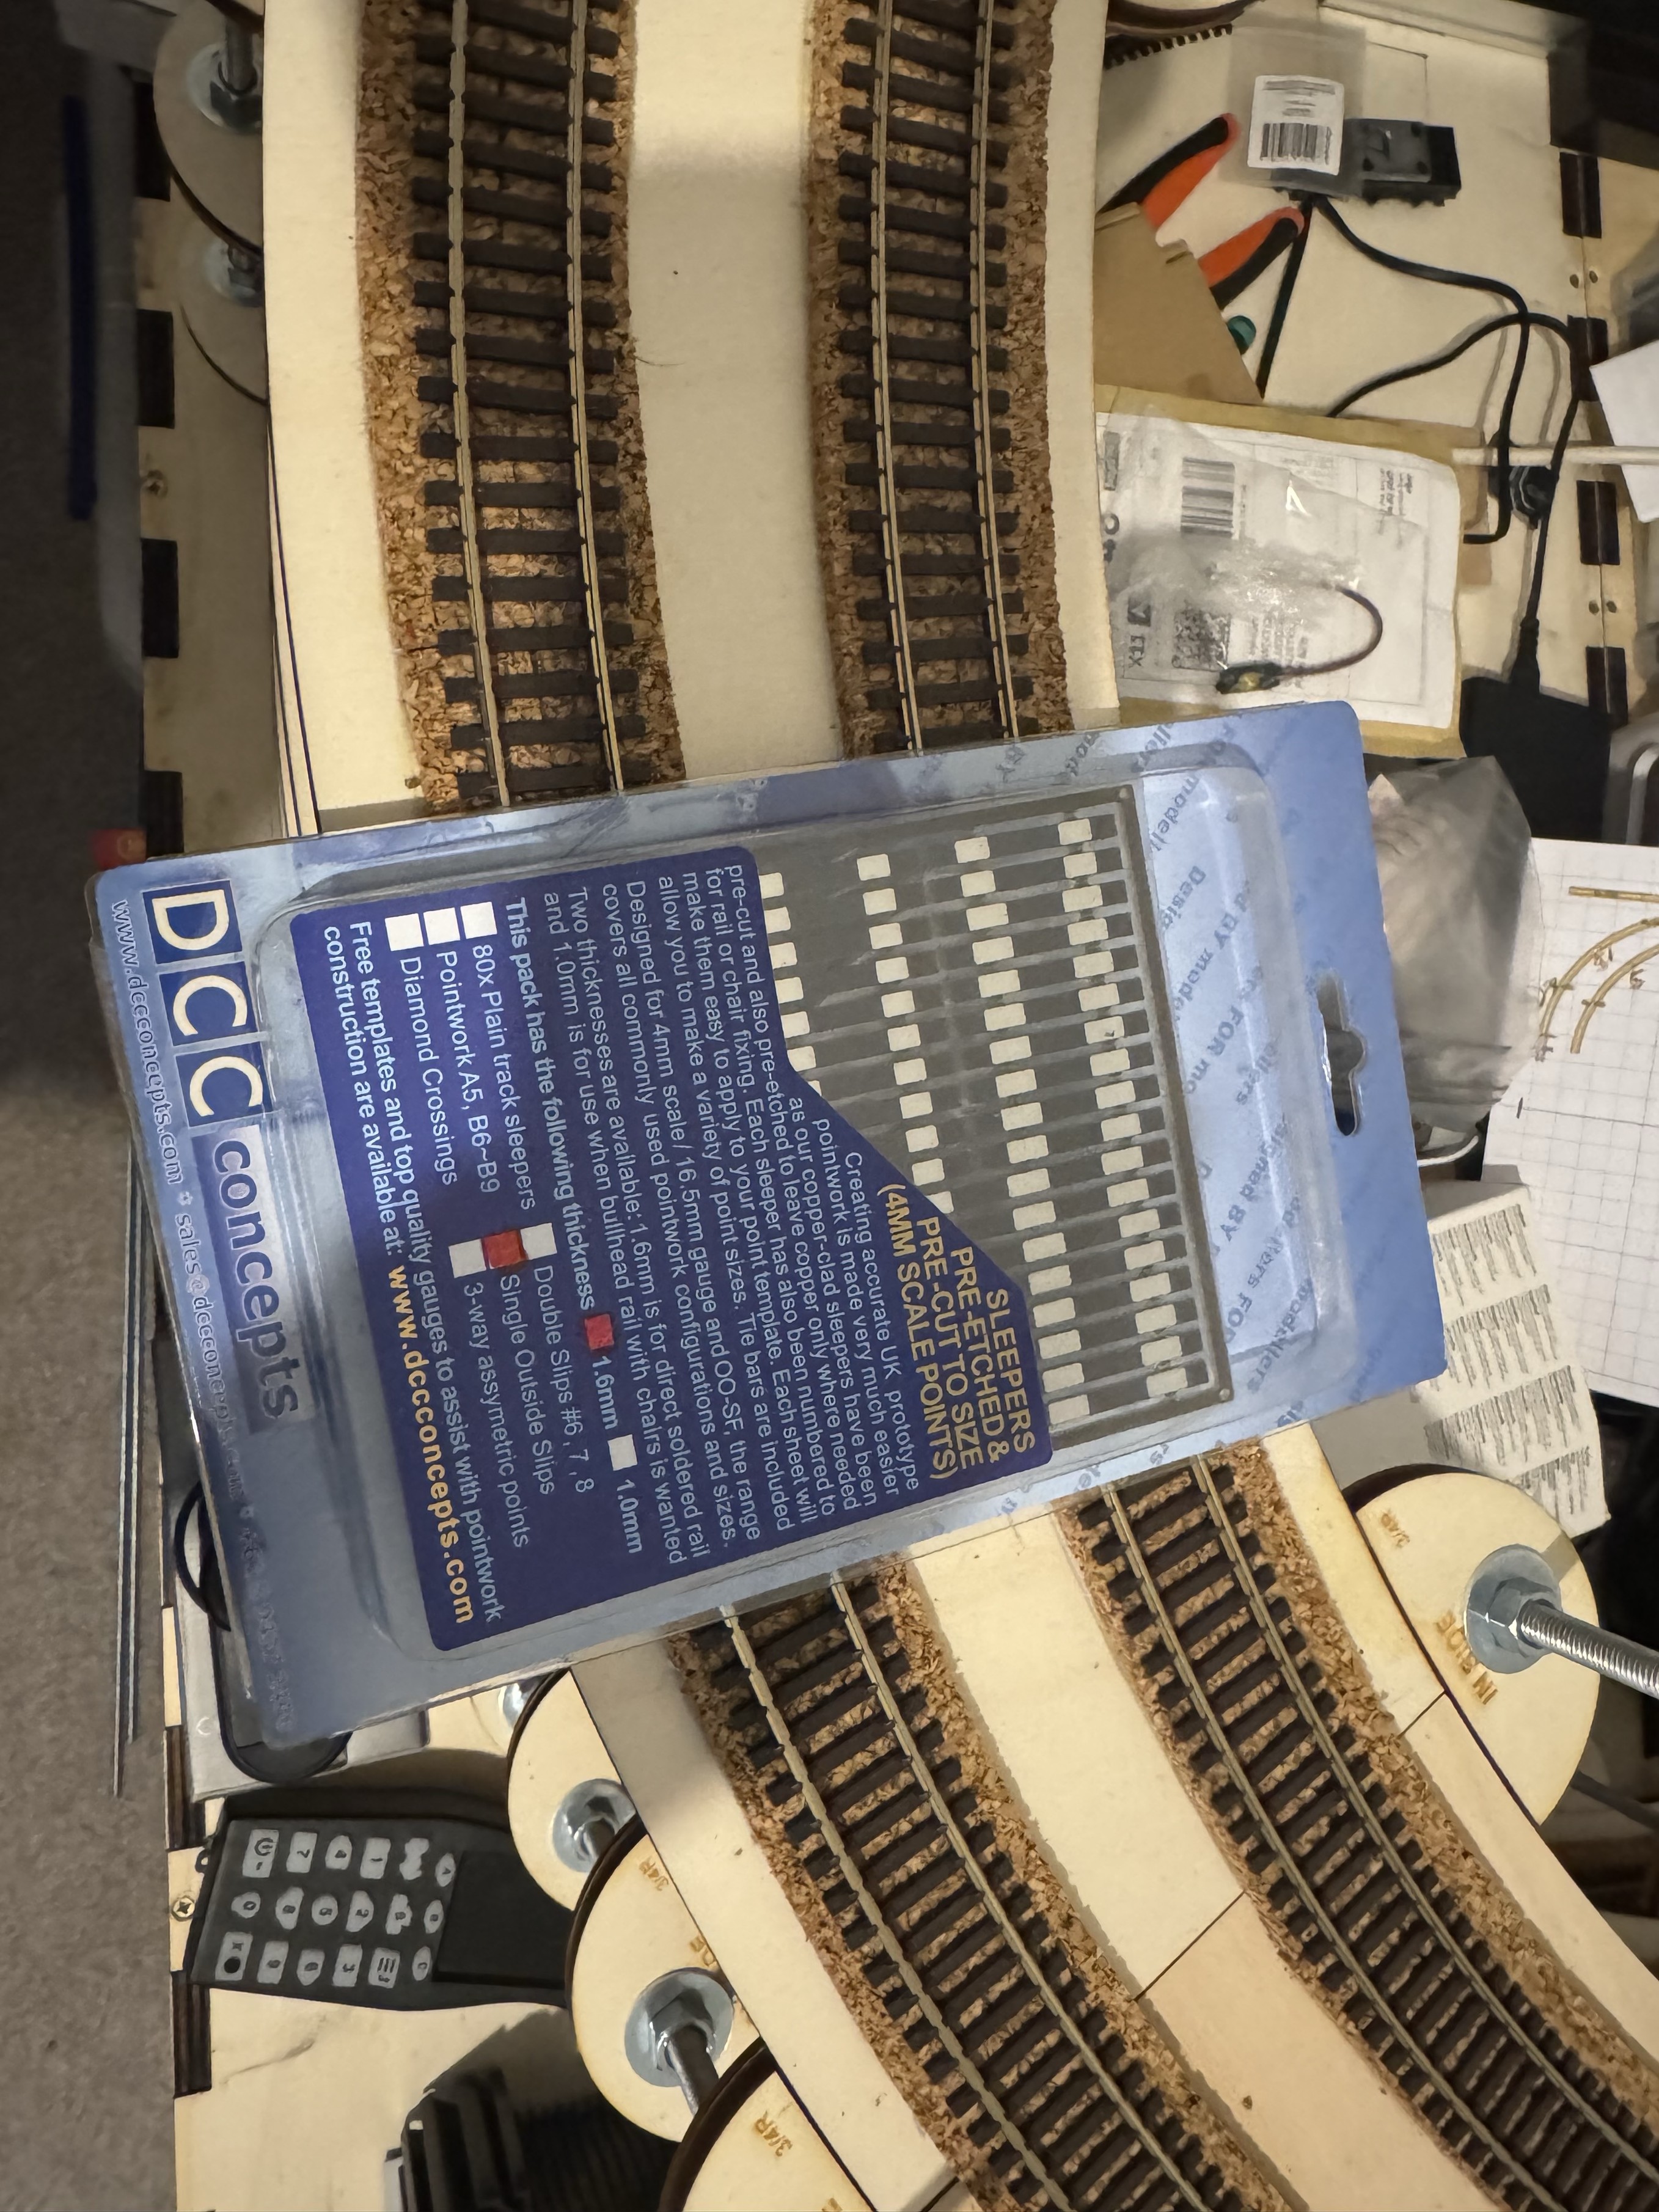
The plan is to use some of these copper sleepers - solder one side, fix the gap and solder the other side, then pin in place. If the gap isn’t quite right I can melt solder to adjust.
These sleepers from DCC Concepts are actually for a catch point but are the cheapest available in a reasonable quantity.
My #Accurascale Class 37 DCC chip, and speaker, are on their way back to the manufacturer due to the sound just randomly cutting out. I was first asked to change CV 63 from 180 to 150 and see if this had any effect - if anything it made it worse. Having removed the speaker I see it’s 4 ohms, so have they just not addressed their known problem with the audio amp design in production run 2 or have they removed the sugar cube speaker entirely to avoid it?
Either way it is sad to have to return them, that loco is good at finding poor running spots on the tracks…
I’ve finalised the design of the branch line station on the railway. Single line comes in at the bottom left corner. Platform is long enough for three suburban carriages or a four coach multiple unit. There’s a run-around for steam services. Goods sidings can be shunted without having to go onto the main line. And I’ve managed to make sure that none of the points are across a board joint (the two boards on the right will be fixed together and treated as one). #ModelRailway #OOScale #TrackDesign

Significant milestone with the model railway today, I installed the helix into its final position hoping not to have to detach it again. Track needs a small amount of work to stabilise the joins across the baseboards but other than that it’s looking good! #ModelRailway #OOScale #Progress

Shiny new arrivals in the house today from Accurascale, these Mk 1 coaches in Carmine Red. Lots of fine detail on these, pre-installed lighting, and the roof is magnetically attached to make maintenance and installing passengers easier. There’s a Syphon G in the background for scale, it’s about 2cm shorter. They look great. They do, however, squeak when moving. At least the two I’ve unpacked so far do.


